Holiday Harbor Fleet – 1:20 scale – {part 90}
At this point, all that needs to be done, so that the resin step could be taken, has been done. I did a little bit more with the filler, taking care of a few last minute imperfections.
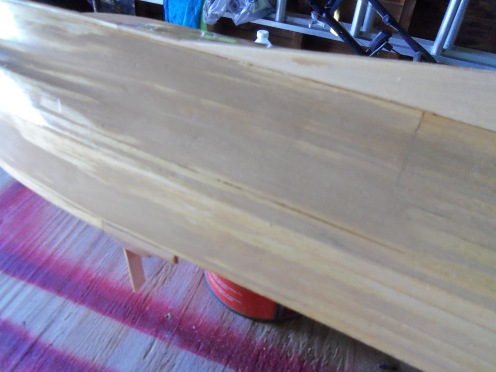
Once dry, it was taken out to the garage and sanded. This time I removed as much filler as possible, and exposed the wood.
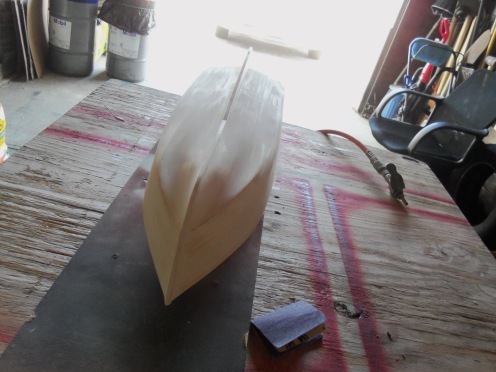

Blowing the hull free from any residual dust, it was ready. Time for the resin coat!
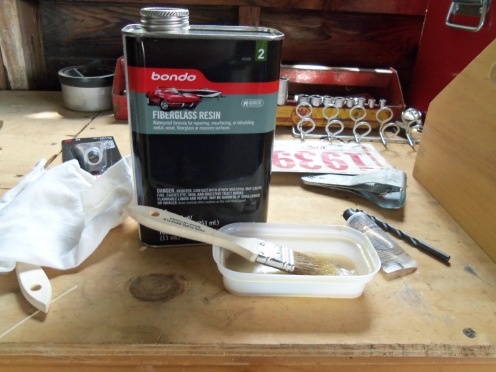
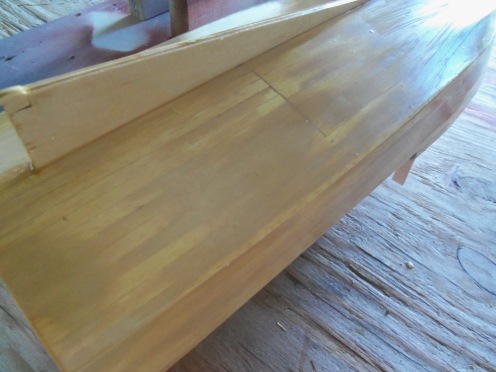
It’s a bit after the fact…….but this is what I used. It can be bought just about anywhere, where automotive supplies are sold. One important thing to remember about this stuff……temperature will grossly affect the drying time of this product. I need to work fast……..and make small batches. I made enough to cover the complete hull…….and that was almost a mistake. Towards the end of the task, it was beginning to set……it was getting harder to achieve a smooth finish with it. Here is what the hull looks like now.

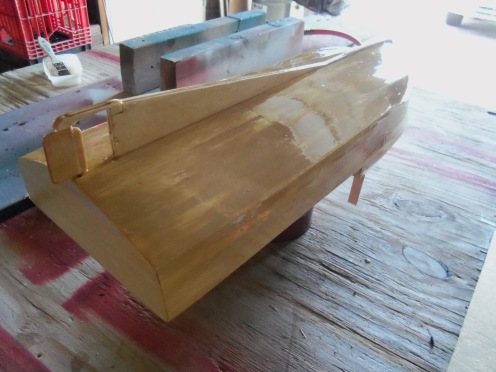 I was impressed with the color the hull became……definitely shows how much filler I left on the hull. It did fill in the minor plank lines and imperfections, but where I finished off with the resin, created a few others. I had forgotten to take the picture of the bondo resin can…..and had gone inside. Just in that time, to go back out to take it, the hull had dried enough, to be tacky to the touch.

This is actually quite minor…..the hull will need a going over anyway, to remove the brush strokes that were left behind in places. I left it out there til early evening, and brought it inside at that time.
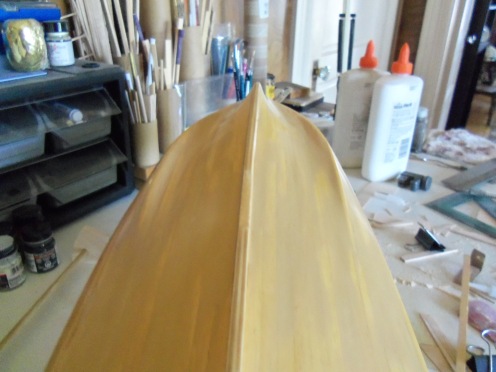
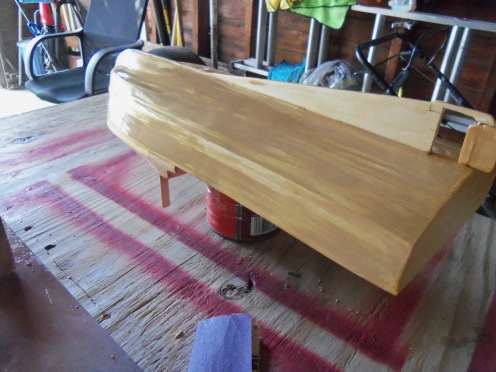
This is the best photo of the tri – hull. I consider the resin treatment a success!
AHOY!!!
